Quick Heal Internet Security is a comprehensive antivirus and internet security software that helps protect your Windows PC from various online threats. In this guide, we will walk you through the process of installing and activating Quick Heal Internet Security on your computer. So, let’s get started and ensure the safety of your digital world!
1: System Requirements Before you proceed with the installation, make sure your computer meets the following system requirements:
- Operating System: Windows 7, 8, 8.1, or 10 (32-bit or 64-bit)
- Processor: 1 GHz or higher
- RAM: 1 GB for 32-bit OS or 2 GB for 64-bit OS
- Free Disk Space: 2 GB or more
- Internet Connection: Required for activation and updates
2: Downloading Quick Heal Internet Security To begin the installation process, follow these steps to download Quick Heal Internet Security:
- Visit the official Quick Heal website (www.quickheal.com) using your preferred web browser.
- Navigate to the “Downloads” or “Products” section of the website.
- Locate Quick Heal Internet Security and click on the “Download” button.
- Save the installation file to a location on your computer, such as the desktop, for easy access.
3: Installing Quick Heal Internet Security Once you have downloaded the installation file, follow these steps to install Quick Heal Internet Security:
- Locate the downloaded installation file (usually named something like “QHIS_Setup_XXXXX.exe”) on your computer.
- Double-click on the installation file to launch the installer.
- In the User Account Control (UAC) dialog box, click “Yes” to allow the installer to make changes to your computer.
- The installer will now extract necessary files and initialize the installation wizard.
- Read and accept the End User License Agreement (EULA) by selecting the appropriate option.
- Choose the installation type (Typical or Custom) based on your preferences. The Typical installation is recommended for most users.
- Click “Next” and wait for the installation process to complete.
- Once the installation is finished, click “Finish” to exit the installer.
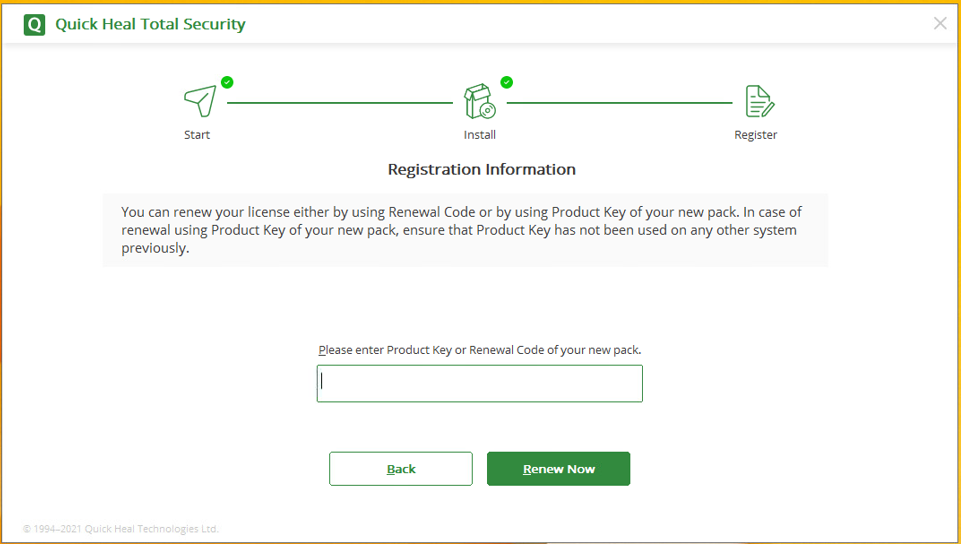
4: Activating Quick Heal Internet Security After successfully installing Quick Heal Internet Security, it’s time to activate the product:
- Launch Quick Heal Internet Security from the desktop shortcut or by searching for it in the Start menu.
- In the Quick Heal main window, click on the “Activate Now” button or look for an option related to activation.
- Enter your Quick Heal product key when prompted. The product key is usually provided with your purchase or in the email you received after purchasing Quick Heal Internet Security.
- Click “Next” or “Activate” to initiate the activation process.
- Follow any additional on-screen instructions, if any, to complete the activation.
- Once the activation is successful, you will see a confirmation message indicating that your Quick Heal Internet Security is now activated and ready to use.
Conclusion: Congratulations! You have successfully installed and activated Quick Heal Internet Security on your Windows PC. With its robust features and real-time protection, you can now enjoy a secure browsing experience and keep your computer safe from malware, viruses, and other online threats. Remember to regularly update the software to stay protected against the latest threats. Stay safe and enjoy peace of mind with Quick Heal Internet Security!


